Due to the numerous benefits that accompany it, concrete polishing is a very popular flooring option for both commercial and residential spaces. Some of the benefits of polishing concrete are that it is much more cost-effective than many other flooring options, it is incredibly durable (lasting up to 100 years with very little maintenance needed), and it is eco-friendly due to the recycled materials used in the process. These are just a few examples of the many benefits of polished concrete.
However, the steps that go into the process of concrete polishing are not as well known as all of the wonderful benefits attached to it. Throughout this article, we are going to go through the process step by step to help give you some insight into what we do.
Step 1: Determine Concrete Hardness
Before beginning the concrete polishing process, we first have to determine the hardness of the concrete. In order to do this, we use concrete hardness testers to find the best metal bond abrasives for the concrete.
We start with the highest number tip and continue scratching the surface with the lower number of tips until the tip is no longer able to scratch the floor. The point at which the tip stops scratching the floor is the indication of how hard the concrete is. We test at least 3 areas of the floor in order to determine an average rating.
Step 2: Grinding
After the hardness of the floor has been determined, we have to see if there is any coating on the floor. If the floor is coated, we determine the type of coating and remove it with the appropriate tools. We then repair and fill any surface holes or cracks before starting the grinding process.
This is usually done using grits 30, 70 and 120. The grinding process is done anywhere from 2-6 times, depending on what the finish is. After that, to achieve a somewhat smooth surface, resin pads of 0,100 and 200 grits are used.
Step 3: Densifier and Stains
In this step, we apply a densifier to the concrete. The densifier is a pore and crack filler that helps solidify and densify the concrete surface as well as provide some extra protection from water penetration and staining in the future. This is also the part of the process when stains are added to the concrete to give it a nice coloured concrete effect.
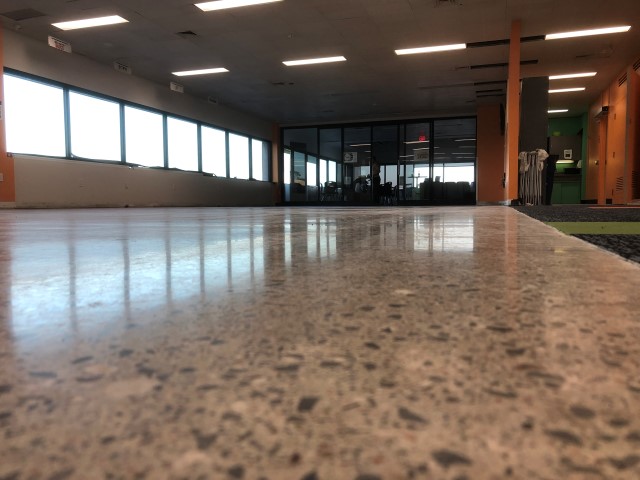
Step 4: Polishing
Now to the actual polishing of the concrete. To start, the concrete surface is polished with a 400-grit resin, though this can vary based on the client’s desired clarity and brightness for the concrete. Polishing is usually done 2-6 times based on the concrete. At this point in the process, the shine that polished concrete is known for will begin to appear.
After the initial polishing, the concrete will be polished further with resin grits 800, 1,500 and 3,000. If the concrete still doesn’t match the client’s desired shine, we will continue to the final resin processes. The final resin process, the 3,000 grit resin, will give the floor a mirror-like appearance with a beautiful high-gloss finish.
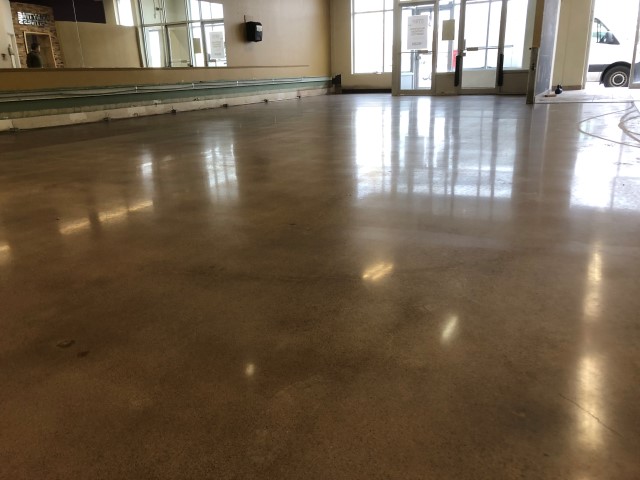
Step 5: Adding Seal and Burnishing
Once the desired shine has been reached, the final step of the polishing concrete is applying seals to help protect the concrete. We apply two coats of commercial stain guard and surface wear protector if the concrete will be exposed to grease, oil, or chemicals. Finally, we burnish the floor to ensure maximum shine and polish.
This is a quick look into the process we go through to polish concrete for our clients. We ensure to patiently work through each step to ensure that the concrete looks amazing for years to come and won’t require repairs anytime soon.
At Polished Floors, we offer a full range of concrete polishing services such as concrete installation, polishing, repair, and more. Call us today at (905) 731-7085 for more information on how we can make your concrete shine.